


How to improve audio quality in your microphone?
For veteran content creators the amount of work to prepare perfect audio quality commentaries might be so difficult, that preparing an actual environment in which they can record perfect sound might take weeks. Purchasing an expensive microphone often ends up in huge disappointment, and even though it is a necessary step, it is hardly any work when it comes to making commentaries.
We’ve provided several tips that will help you create the best quality commentaries for your videos.
Starting from the simplest tips:
Make sure that your room is quiet!
This tip is, of course, obvious, but almost every new aspiring content creator does not abide by this rule. As a result, their videos are full of background noises. Thus, it is important to close the door and seal is as best as possible. Also, keep your windows closed to limit outside noise such as cars, talking people, wind etc. You can’t imagine how well can a good microphone catch sounds from the outside.
Keep your microphone as close as possible (but still not too close)
Keeping your microphone away from you will result in a horrible quality of sound, of course, unless your room is re-made into the small recording studio that holds sound completely inside.
However, if you want to avoid sounding like your shouting from “far far away” try to keep your mouth not further than 30 centimeters away from the microphone.
On the other hand, if you keep your microphone too close, your audio recording will contain sounds such as breathing and other sounds that are made with lips. Watch out to not do this as well. Alternatively, you may want to purchase a filter to mute those unwanted breathing sounds.
Don’t record next to an open window or windy areas
If you do record and want to achieve the best possible sounds, make sure you close all your windows, and turn off all the fans you may have.
But what if you’re recording outside?
There are a couple of ideas. For one – you may partially cover your microphone with your hand, but that’s pretty uncomfortable. But don’t cover it too much, or your recorded sound will be muffled. Your aim is to stop the wind from reaching your microphone.
But just how uncomfortable it is to hold my hand on my microphone for the entire time? Very…
For this reason, moviemakers often cover their microphones with so-called “dead cats” that are meant to block any sound generated from wind blows. With a similar piece of equipment, you can cover your microphone and make sure that no wind is going to reach your microphone. You can purchase a pompom for just a few dollars, but if you don’t want to pay money for a new microphone cover, just find some used up clothes, coat or a scarf.
Use proper audio recording software
Recording sound using built-in solutions on your phone or on your PC is usually a bad idea. The quality is low (even with great microphones) and usually, there are little to no features at all.
If you want to record sound in great quality, we suggest using Mirillis Action!. It has a lot of features and also allows you to record video of your screen or webcam as well. So if you’re creating a podcast, think about adding your webcam to improve the overall quality of your recording.
Check the video below and discover how many features Action! has for recording audio:
Use audio/video editing software
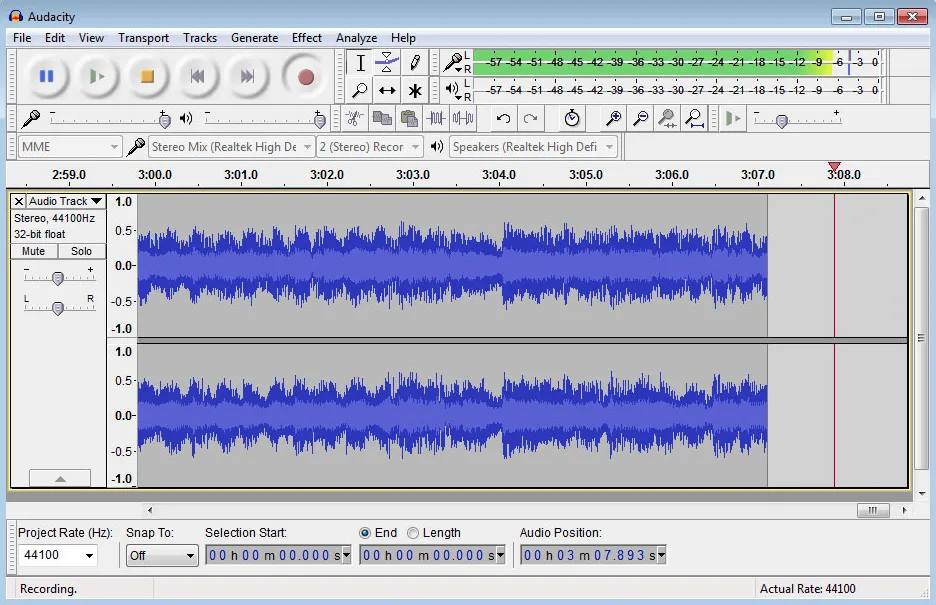
Sometimes after recording you realize that something is still wrong with your audio. It has a lot of noise, or you realized that you recorded unintended sounds/lines etc. and want to get rid of them. Cutting redundant sections of your recording is possible with simple and completely free audio editing software Audacity.
Do tests before you start actual recording
Once you have everything set up, remember about testing things out before you do an actual recording. Perhaps you have forgotten to do something important that will, later on, show in the recording and you might end up regretting it a low. Let’s try to avoid that every time!